Struggling to keep your Starlink Mini online during critical field operations? A sudden power drop isn’t just an annoyance—it’s a mission failure. Unstable power can cause constant reboots, leaving your team disconnected when it matters most.
To correctly power a Starlink Mini, you need a DC source providing a stable 12V to 48V and capable of delivering at least 60W, especially for startup. Use quality LiFePO4 batteries and appropriately sized cables to prevent voltage drop and ensure reliability.
I once worked with an emergency response team whose Starlink Mini kept failing. Their battery had plenty of capacity, but they used a long, thin 18-gauge cable. The resulting voltage drop was enough to starve the dish, causing constant reboots.
What Are the Starlink Mini’s Actual Power Needs?

It’s easy to get this wrong by only looking at the average power draw. The key is planning for the peaks, as they determine whether your system stays online or fails at the first hurdle.
The Starlink Mini averages 20–40W but requires up to 60W for startup, peak usage, or when the "Snow Melt" mode activates. A power source unable to supply this 60W peak will cause instability and reboots.
Dive Deeper: Breaking Down the Power Budget
The official specs are your starting point, but real-world conditions dictate success. The unit’s input is a standard center-positive DC barrel jack, but what you feed it is critical.
- Voltage Window (12–48V DC): This wide range offers great flexibility, allowing you to use everything from a 12V vehicle system to a 48V telecom power rail. However, the voltage must be stable. A 12V source that dips to 11.5V under load will cause problems. This is why a high-quality LiFePO4 battery with a good Battery Management System (BMS) is superior to older chemistries.
- Power & Current (60W Minimum): At its lowest input voltage (12V), the Starlink Mini needs to pull 5 Amps to hit its 60W peak (
60W / 12V = 5A). Your power source and cabling must handle this current without significant voltage drop.
Here’s a table showing typical consumption scenarios:
| Operating Condition | Typical Power Draw (Watts) | Notes |
|---|---|---|
| Idle / Low Use | 15–20W | Connected but with minimal data traffic. |
| Average Use | 20–40W | Web browsing, video calls, steady data flow. |
| Startup / Heavy Load | 40–60W | Initializing, searching for satellites, heavy use. |
| Snow Melt Mode | ~60W (or more) | The internal heater activates in cold climates. |
What Common Mistakes Cause Starlink Mini Power Failures?

Even with a powerful battery, simple setup errors can compromise your connection. I see field teams make these three mistakes most often.
The most common failure points are using underpowered USB-C PD adapters, suffering voltage drop from long or thin cables (especially on 12V systems), and undersizing the power source for the 60W peak load.
Dive Deeper: A Checklist for Field Reliability
Before deploying, check your system against these common failure points.
- Improper USB-C Power Delivery (PD): Not just any USB-C port works. The Starlink Mini requires a USB-C PD source that can negotiate and deliver at least 65W (100W is ideal), typically at 20V. Many consumer-grade power banks or chargers fail to trigger the correct power profile, defaulting to a lower wattage that can’t handle the startup peak.
- Critical Voltage Drop: This is the silent killer of 12V setups. Ohm’s law is unforgiving. A long or undersized cable acts as a resistor, causing the voltage to drop between your battery and the dish. For a 12V source, we recommend using a 14AWG or thicker cable and keeping it under 16 feet (5 meters). If you need a longer run, it’s much safer to use a DC-DC step-up converter to boost the voltage to 24V or 48V.
- Ignoring Temperature Effects: In hot environments (>35 °C), cable resistance increases, worsening voltage drop. In freezing conditions, the Starlink Mini’s automatic snow-melt feature can activate, pulling a sustained 60W and draining your battery much faster than anticipated. Always factor in your climate.
Final thoughts
Powering your Starlink Mini correctly comes down to providing a stable 12–48V DC supply with a 60W peak capacity and verifying your setup to eliminate voltage drop.
Meta Title: How to Power a Starlink Mini: 12-48V, 60W Guide | LifePO4 Powers
Meta Description: Learn the real Starlink Mini power input needs. Our guide covers voltage (12-48V), peak draw (60W), and common mistakes for field ops, telecom, and OEM use.
URL Slug: starlink-mini-power-input-requirements
Primary & Secondary Keywords:
- Primary: Starlink Mini power input
- Secondary: Starlink Mini 12V, Starlink Mini power consumption, Starlink Mini battery, 60W power supply, telecom power solution
Image Suggestions (title + alt):
- Featured Image:
- Title: Engineer connecting a LiFePO4 battery to a Starlink Mini.
- Alt: A field engineer connecting a LifePO4 Powers battery to a Starlink Mini, ensuring correct power input for a remote deployment.
- Inline Image 1 (for the "Common Mistakes" section):
- Title: Diagram of Voltage Drop in a 12V Starlink Mini setup.
- Alt: Graphic showing how voltage drops over a long, thin cable, causing the Starlink Mini to fall below its required 12V input level.
- Inline Image 2 (for the "Verification" section):
- Title: Multimeter showing stable voltage at Starlink Mini input.
- Alt: Close-up of a digital multimeter reading 12.5V at the Starlink Mini’s power connector during startup, verifying a stable supply.
Internal Links Used:
-
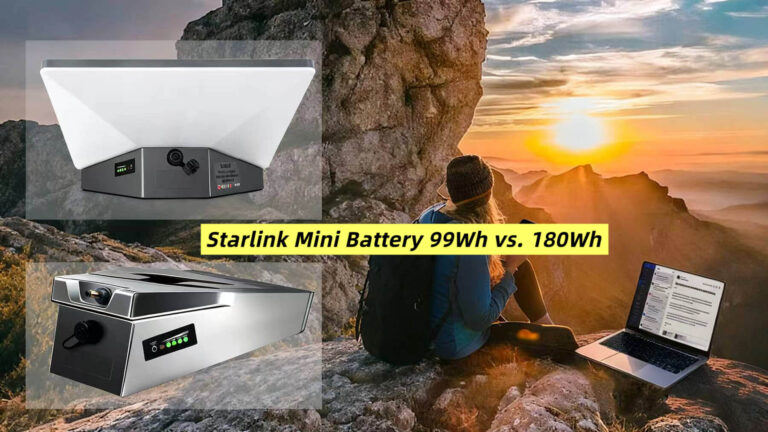
99Wh Starlink Mini Battery – Airline-Safe, IP65 Waterproof, Quick-Release Mount
-
Starlink Mini 180Wh Portable Battery,IP65 Waterproof,Extreme Temp & 5000+ Cycles
-
Starlink Mini Power Kit | 180 Wh Battery + 36 V 60 W Solar | Bright Power
External References (if any):