How Do You Power the Starlink Mini? A Guide to 12–48V, 60W Inputs?
Field operations demand reliable connectivity, but unstable power can derail a critical mission. A sudden power drop means lost data, failed communications, and costly downtime. For engineers, outdoor teams, and emergency responders, knowing how to power the Starlink Mini correctly is as important as the dish itself.
The Starlink Mini requires a stable 12–48V DC input capable of handling a peak draw of 60W. While the flexibility of this voltage range seems forgiving, in practice, 24V or 48V setups often outperform 12V by reducing current, cutting cable losses, and preventing reboots.
I’ve seen too many teams blame the dish when the real culprit was the power supply. Let’s break down what really matters so your Starlink Mini stays online when it counts—and why a dedicated Starlink Mini Battery Pack may save you more than just frustration.
What Is the Starlink Mini’s Real-World Power Consumption?

Understanding Starlink Mini’s power draw is not about memorizing one number—it’s about anticipating a range of loads.
- Average load: 25–40W during normal operation
- Peak load: Up to 60W during boot or environmental conditions
That 60W isn’t a theoretical maximum. It’s a field-tested reality:
- Initial Boot & Satellite Acquisition – On startup, the dish draws maximum power to orient itself and lock onto satellites.
- Snow Melt Function – In freezing conditions, an internal heater activates, drawing extra current to keep the dish clear.
Ignoring these peaks is the #1 cause of “brownouts”—when input voltage dips and forces the dish into a frustrating reboot loop.
Why Does Voltage Drop Matter?
Ohm’s Law makes it clear: lower voltages demand higher current, and high current magnifies cable losses.
- At 12V: 60W ÷ 12V = 5A
- At 48V: 60W ÷ 48V = 1.25A
Higher current = higher heat, thicker cable requirements, and bigger voltage drop.
| Cable Length (16 AWG Copper) | Voltage Drop @12V / 5A | Voltage Drop @24V / 2.5A | Notes |
|---|---|---|---|
| 5 ft (1.5 m) | ~0.20V | ~0.10V | OK for vehicles |
| 15 ft (4.5 m) | ~0.60V | ~0.30V | Borderline |
| 30 ft (9 m) | ~1.21V | ~0.60V | Unreliable at 12V |
Assumptions: 16 AWG copper at 20°C. Thicker cables reduce drop.
In real deployments, anything over 10 ft should push you to 24V or 48V. That’s why telecom setups almost always run higher voltage: it just works better1.
What Are the Best Power Sources for Starlink Mini?

Not every “12V battery” or “60W power bank” can deliver what Starlink Mini demands. The best power source must deliver 12–48V consistently, without sag, and sustain 60W peaks.
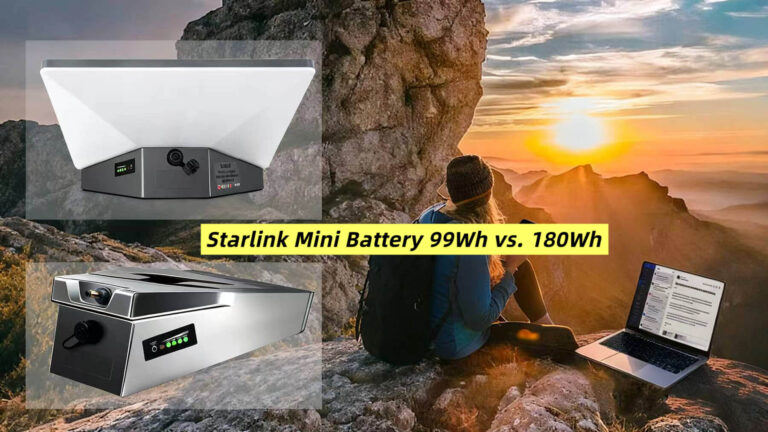
LiFePO4 Batteries (Recommended)
- Flat discharge curve – stays above 12.5V for most of its capacity
- Long cycle life – 3000–6000+ cycles vs 500–800 for lead-acid
- Lightweight & safe – inherently more stable chemistry
- Cold-weather performance – better than lithium-ion alternatives
Our Starlink Mini 180Wh Battery Pack delivers 2.5–3 hours runtime even at peak 60W draw, with IP65 protection and automotive-grade housing.
Lead-Acid Car Batteries
While convenient, they sag quickly. A fully charged lead-acid may read 12.6V at rest, but under a 5A draw it drops below 12V, forcing reboots. Unless the engine is running, don’t rely on them for mission-critical work2.
USB-C PD Power Banks
Many claim “60W,” but without the right PD trigger negotiation (e.g., 20V/3A profile), the Mini won’t power on. Always confirm compatibility with a USB PD tester3.
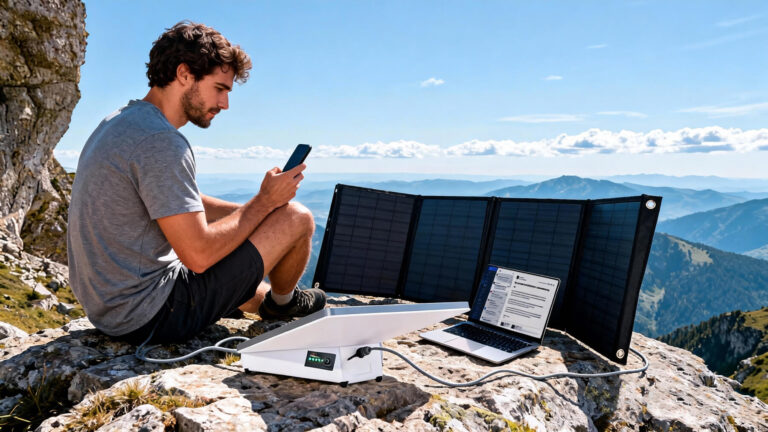
Solar Panels
Solar is viable but must run through a charge controller into a battery buffer. Direct panel-to-Starlink connections are unsafe because sunlight is inconsistent. A 100W panel + LiFePO4 buffer makes for a strong off-grid combo4.
Why a Dedicated Starlink Mini Battery Outperforms DIY
Yes, you could cobble together a car battery, a random cable, and a cheap PD adapter. But in the field, “cheap” almost always becomes “expensive.”
Here’s why a purpose-built Starlink Mini Battery Pack wins:
| DIY Power Mix | Dedicated Starlink Mini Battery |
|---|---|
| Uncertain PD trigger, reboots | Calibrated for 12–48V, 60W |
| Cable too thin, voltage sag | Oversized, IP65 waterproof cables included |
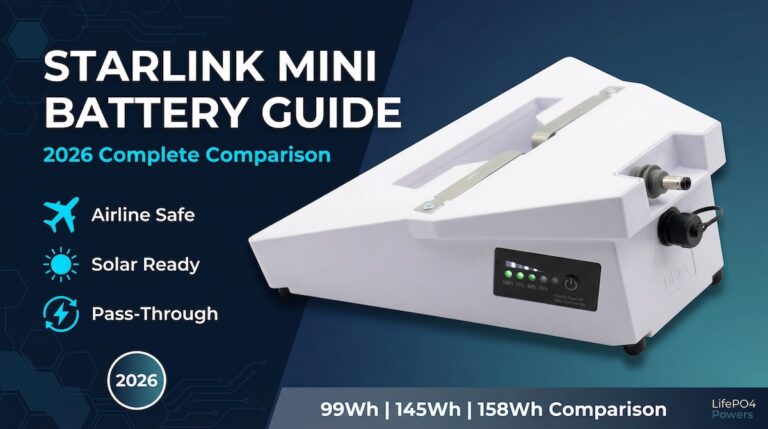
| Heavy car battery | Lightweight, portable packs (99Wh & 180Wh) |
| Poor safety margin | Built-in BMS with surge & thermal protections |
| Fails in cold/rain | Automotive-grade, 5 ft drop resistant |
You save more than money—you save downtime, frustration, and even missed opportunities.
Explore:
Field-Proven Applications
Starlink Mini is more than a camping accessory—it’s now a lifeline in critical operations:
- Emergency Response – restore connectivity after storms or wildfires
- Telecom Maintenance – temporary links in fiber outages
- Live Broadcasting – field journalism or event streaming
- RV & Off-Grid Living – portable internet wherever you roam
In every case, unstable power leads to reboots at the worst time. That’s why disaster response teams and telecom integrators increasingly standardize on 48V LiFePO4 solutions backed by rugged portable packs5.
Quick Checklist Before Deployment
- ✅ Is your source rated for 60W continuous?
- ✅ Does your USB-C PD adapter explicitly support 60W+?
- ✅ Have you verified center-positive polarity on barrel jacks?
- ✅ For runs over 10 ft, are you using 16 AWG or thicker cable?
- ✅ Are you sizing for 60W peak, not just 30–40W average?
Skipping any of these is how teams lose connectivity in the field.
Final Thoughts
Powering your Starlink Mini is not about guesswork. It’s about:
- Sizing for the 60W peak—not just averages
- Using higher voltage (24V/48V) for longer runs
- Choosing LiFePO4 over lead-acid for stability and lifespan
- Relying on dedicated packs for rugged, plug-and-play use
With the right power source—like a purpose-built Starlink Mini Battery Pack—you eliminate reboots, downtime, and frustration.
When every second of connectivity matters, don’t gamble. Power your Starlink Mini correctly, and it will serve you anywhere in the world.